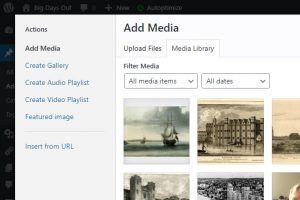
Media Library
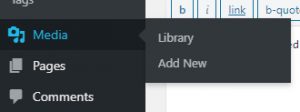
Once you are logged into your WordPress dashboard, look for the Media tab in the menu if you hover over it, it will expand to show you two options
- to view your library of previously added images
- add a new image.
Choose 1. Library
The library is a tool for managing the images already uploaded to the site. The layout can be toggled between an image grid and a detailed list by clicking on the icons at the top left. The media library allows you to upload new images, find existing ones and delete them when no longer needed.
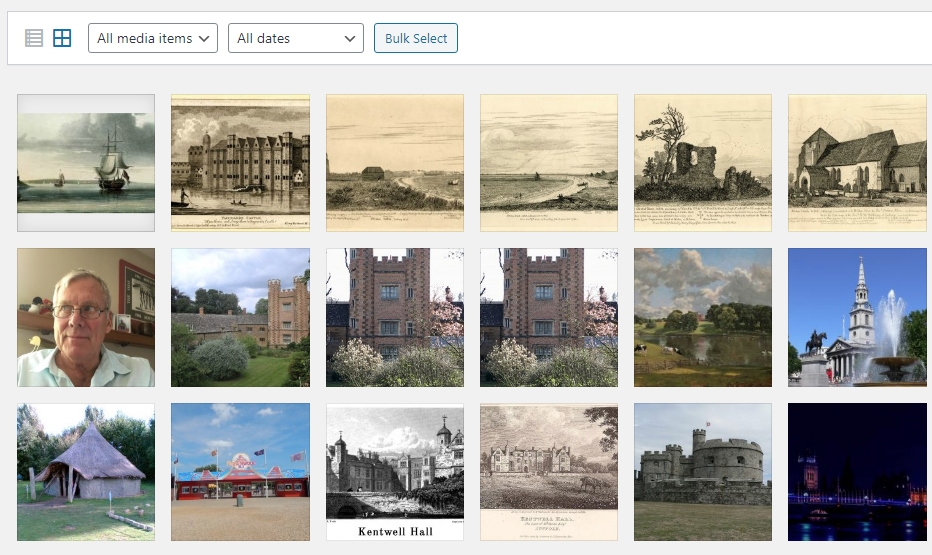

The two views of the Media Library above have been inserted using a built in WordPress feature called an Image Gallery and enhanced by a plugin called WP Featherlight which enhances their display. Click on one of the images to see an enlarged version and scroll through them.
Using Images In Posts And Pages
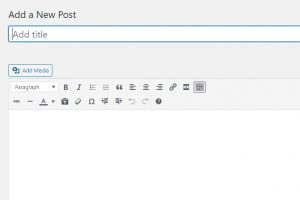
- On the admin bar at the top of the screen hover on New.

- Select Post. WordPress will create a new draft post for you to use to practice using images. If you are a client of mine you should see a screen something like this:
 if not, then you may see something very different because WordPress have introduced a new block editor called Gutenberg. I strongly recommend that you disable it.
 - Click in the main editor box and you can type text .. and add images. Click on the Add Media icon
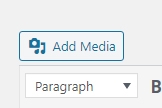
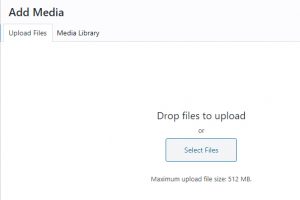
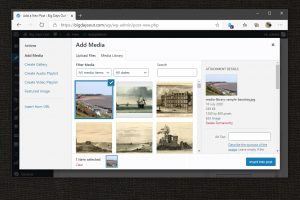
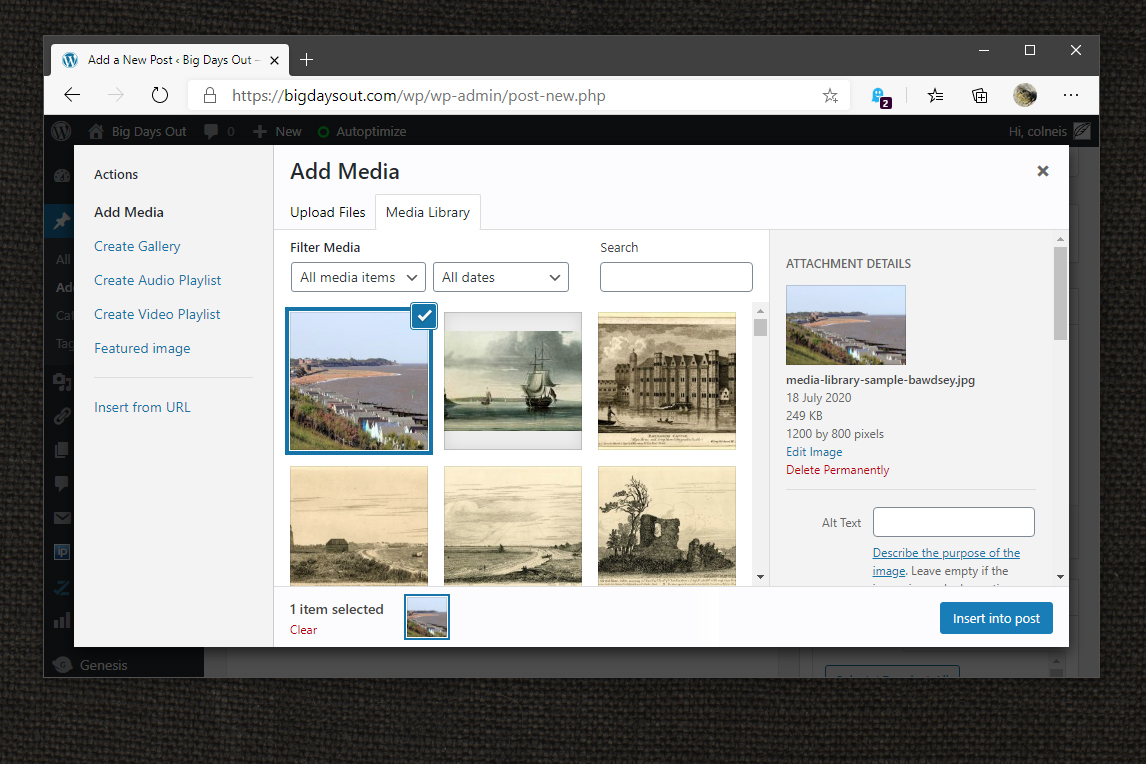
- This opens the add media dialog.
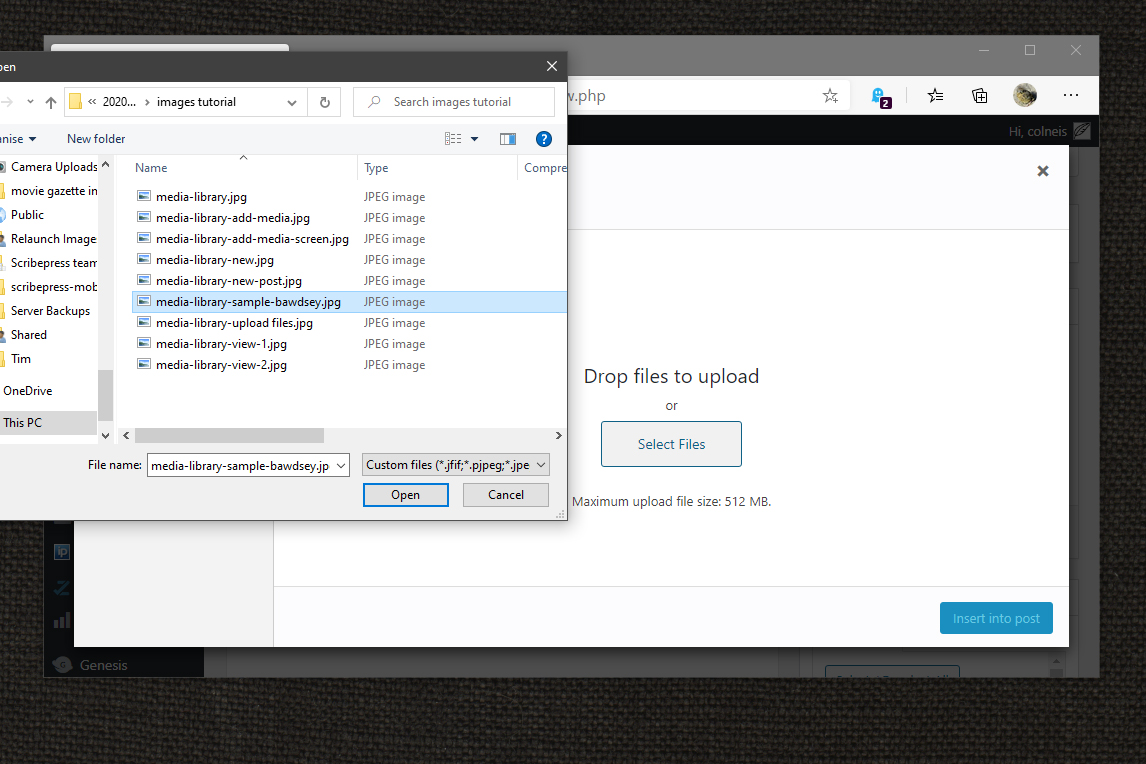
There are a set of options on the left hand side, but for now, let’s just add an image. All you need to do is either drag and drop an image from your computer onto the box or choose the Upload Files option to get a more conventional upload dialog
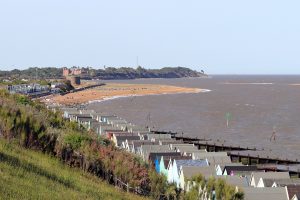
 Here is a large sample image which you can use if you don’t have one to hand – click on it to open the full sized file and save it somewhere easy to find.
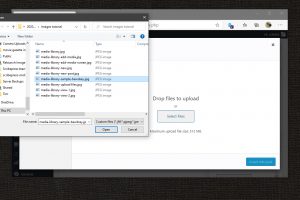
- Now drag and drop, or using the file uploader, upload your image.
- Then click Insert Into Post and your image will appear in the editor screen. Congratulations, you have added your first picture to a post. If you are happy with how it looks, then you just need to finish off the rest of the post and publish it. But, if you want to change how the image displays, there are lots of options.
- Click on the image and this dialog appears.
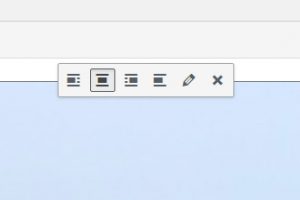 From left to right the options available are
- Align Left. If you chose this option it sets the image to the left side of the page and allows text to flow around the right hand side of the image.
- Align Centre. Place the image in the centre of the page with white space to each side.
- Align Right, image to the right, text flowing to the left.
- No alignment, the image will sit in the normal text flow, with white space beside it.
- Edit
- Remove the image.
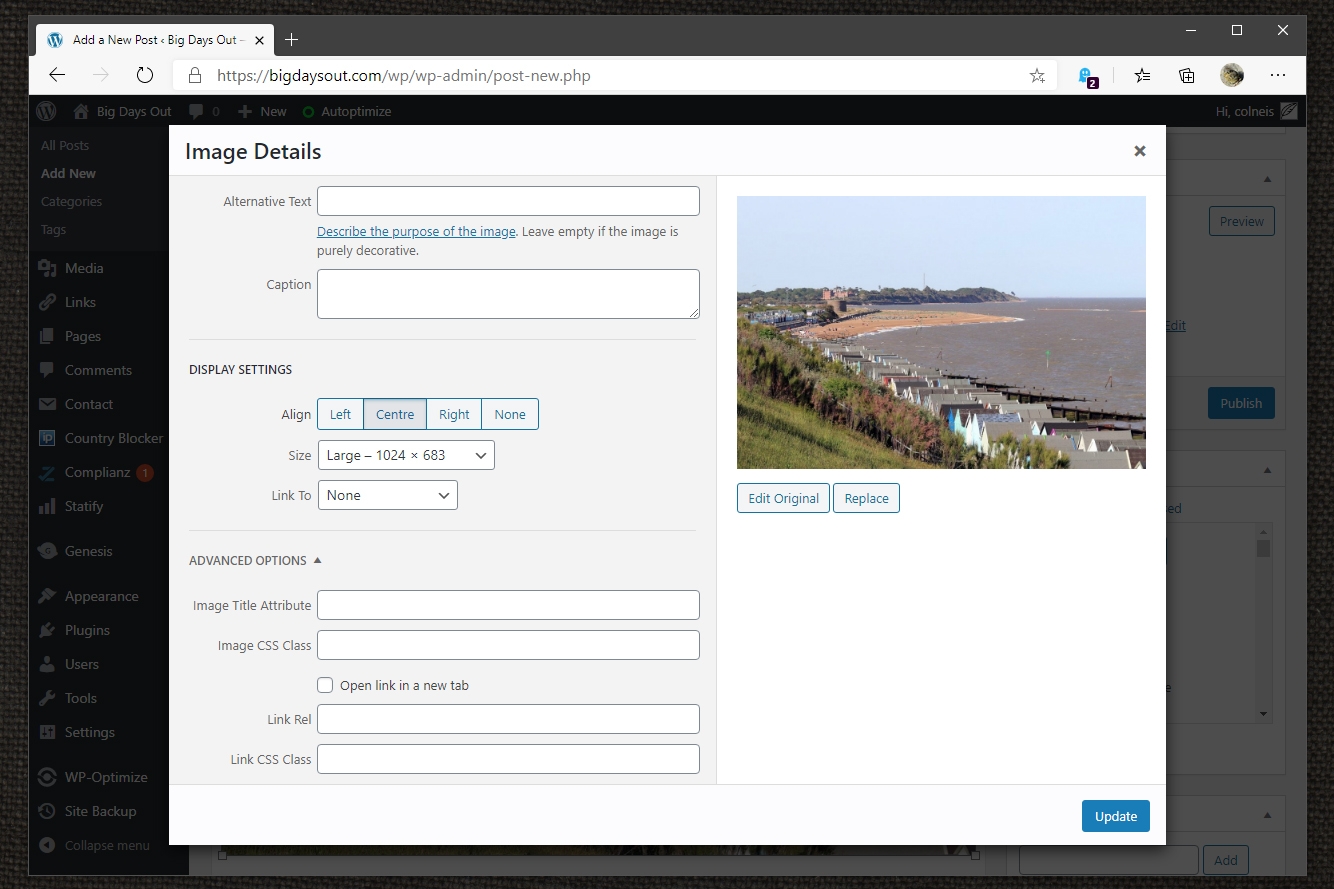
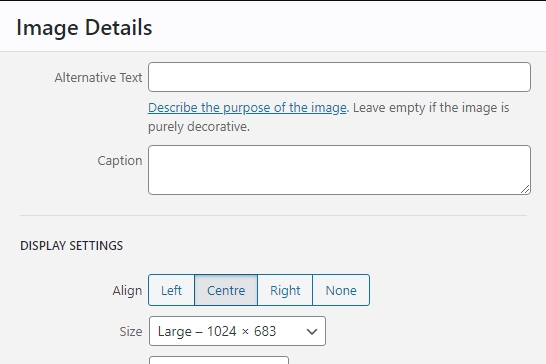
- Option 5. (click on it) opens a detailed dialog to control how your image displays.
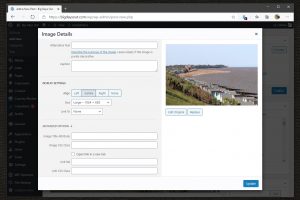
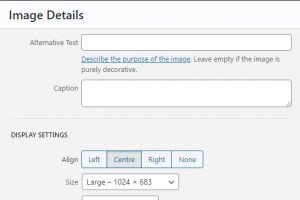
- Alt Text. Alt text was added to the html specification to improve accessibility. If you image is just decorative, it should be blank. If it contains information which will be missed if the image doesn’t render (i.e. if someone is browsing with images turn off, or using assistive technology like a screen reader) then you should type that information into this box. For example you often see a button image with click here written on it. This should have the text “Click Here”, or whatever entered in the alt text box. The alt attribute is widely abused for SEO purposes. Please, just don’t. More information
- Caption. While the alt text is hidden and only displays if the image doesn’t, you may want to provide a caption which describes the image. The caption will be displayed below the image and is semantically linked to it.
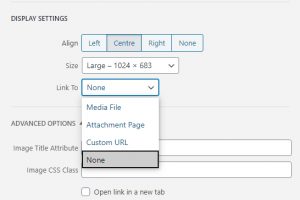
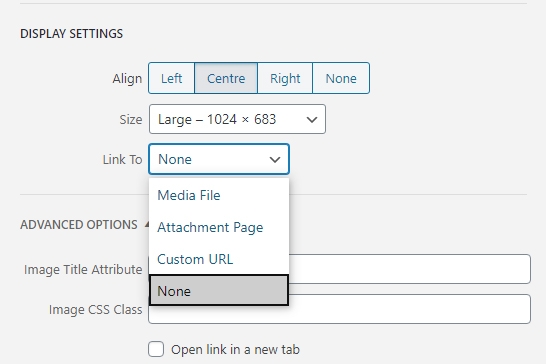
- Display Settings
- Size. WordPress automatically creates smaller versions of each image you upload, which can be used in place of the original:
- Thumbnail. Normally cropped square and 150px x 150px.
- Medium. Normally 300px x 300px not cropped, retaining the aspect ratio of the original.
- Large, 1024px x 1024px, also not cropped
- your theme may add additional sizes. Examples below.
- Link. You can hyperlink your image,
- to itself – Media File,
- to an automatically generated page showing the image – Attachment Page,
- or to any url you wish – Custom Url.
- Size. WordPress automatically creates smaller versions of each image you upload, which can be used in place of the original:
- Advanced Options. You can add a title to an image, this will show up if the image is hovered, may, possibly have some SEO benefits, but is not otherwise important. The Image CSS Class is an advanced option, it is possibly to add effects, e.g. grey scale and gradients using CSS. You are unlikely to need to use this. Open link in new tab, handy if you want the visitor to retain your page after they have clicked the link. E.g. if you have linked to something interesting on Facebook, it might be nice if they came back, but they probably won’t. Otherwise, if you have used it to link to your order form, that is probably all they are going to need. Ever, right?

Save your settings and you are good to go! There are some notes and tips below.
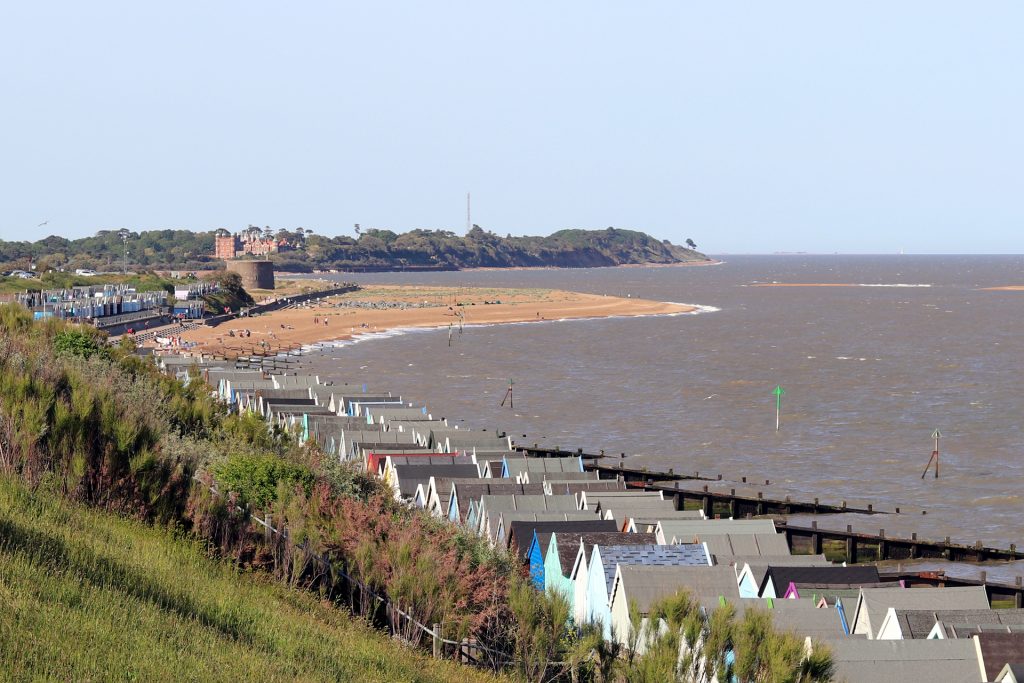
Image size examples:
Thumbnail:
Some Tips
Uploaded To This Post
If you add an image to a post, WordPress will store the association of the the post and the image. This can be very helpful later on, when you are trying to work out what belongs where.

Naming Images You Upload
Images you upload are stored in the media library with the original file name. You can’t change the name of an image once it has been uploaded. There are a number of advantages in choosing a better name for images you upload.
The seaside scene I uploaded is from a photo taken on a Canon camera. It’s original file name was IMG_3203.JPG. There are several disadvantages to that file name. There are thousands of images on the internet with that exact file name. Much better to chose a name which describes what the photo is about. This will help a little with your SEO. It may also, a year or so from now, remind you of precisely why you used it in the first place. So, for example, fluffy-the-cats-first-birthday_IMG_1000.jpg would tell you what the photo is about, and might also help you go straight to the original (unless, like me, you use two Canon cameras, and both are at similar points in the number sequence).
Preparing Images for use
A lot of the time the image you have may need to be cropped or resized for use. WordPress does have some basic, rather crude tools built into it, but there are a huge array of tools for editing images. Windows comes with Paint and now Paint 3d, but there are other, better options. The pick of the pack is Photoshop, but it is hugely expensive and way more powerful than most people are ever going to need. I use Photoshop, but I am a web developer, not a graphic artist, so I have never felt the need to upgrade from Photoshop 6, which I bought 20 years ago. It is that good. I am aware that the more recent versions have huge numbers of additional features, but, quite simply, I don’t need them.
Gimp is a superb image editor, very powerful, and free.
Paint.net is probably the free editor I would pick at the moment, it is not as powerful as Gimp, but I find it much easier to use.
There are also many commercial alternatives, most have some form of free trial.
Paint Shop Pro is excellent
Serif Affinity Serif make a great range of software, I haven’t tried Affinity, but its predecessors were excellent.
Of all the alternatives I think I would probably recommend Adobe Photoshop Elements. I couldn’t find it on Adobe’s own web site, it is almost as if they are ashamed of it, more likely they are embarrassed just how much they are charging for Creative Cloud subscriptions and don’t want to admit that they are selling a viable alternative to Photoshop for most users for so much less. Elements can be had from Amazon for £68, and a bundle of Photoshop Elements and Premiere Elements, a video editor for £125.
The Need For Speed
Fast page loads are critically important. Every extra second on your page load time will cost you visitors – people get bored waiting, they go elsewhere. Google has also started to include page load times in its ranking algorithms. Not only that, but bandwidth costs £££s. Web hosts set limits on a site’s bandwidth and may charge more if the limits are exceeded, or throttle your site. The costs will also hit your visitors, they may have to be a bigger data allowance, or if they are on pay as you go, they will be charged for every megabyte.
Set against that, big, beautiful photographs may well be critical to the sale of your product or service. So a balance has to be struck.
The first step is to work out precisely how big your images need to be. On this site, the content area is just 720px wide, even when the site is being viewed on a Full HD (1920px x 1080px monitor). Let’s take the sample image I uploaded for this article. The original image taken be the camera is 6000px x 4000px and 10MB file size. I uploaded and link to a cropped, resized version which is 1920px x 1280px and 2MB file size. Even that is way larger than necessary for display on a a page on this site. All I need is one 720px across. Just resizing it will reduce the file size to 351Kb. But, I also use a range of compression tools to further optimise images for the web, there is a very good one built into Photoshop, which will drop the size to 82.6Kb. I also have a standalone compression tool called Riot, this dropped the file size to 48.4Kb. So compared to the original file it will load 200 times as quickly and at my PAYG rate of 1p per MB is will cost £0.00484 instead of £0.10.

There are many WordPress plugins which can help address this, these are just two I particularly like.
Imsanity, allows you to set a limit to the dimensions of uploaded images.
WP-Optimize, has image file optimisation built in. I prefer to optimise images by hand before I upload them, as it gives me complete control but WP-Optimize is effective if you don’t want to go to that effort. However, it doesn’t change the image dimensions, so if your uploads are too wide, it won’t fix that for you.
Leave a Reply